Pixel Plumb
A pixel-art image pipeline in Rust and WebAssembly.
Pixel Plumb turns photographs into pixel art. You upload an image, stack up a few operations, and hit run. It works entirely in your browser – meaning I collect no data.
The color math is done correctly
Almost every pixelation tool maps a limited palette in the RGB color space, which produces results that are visibly wrong.
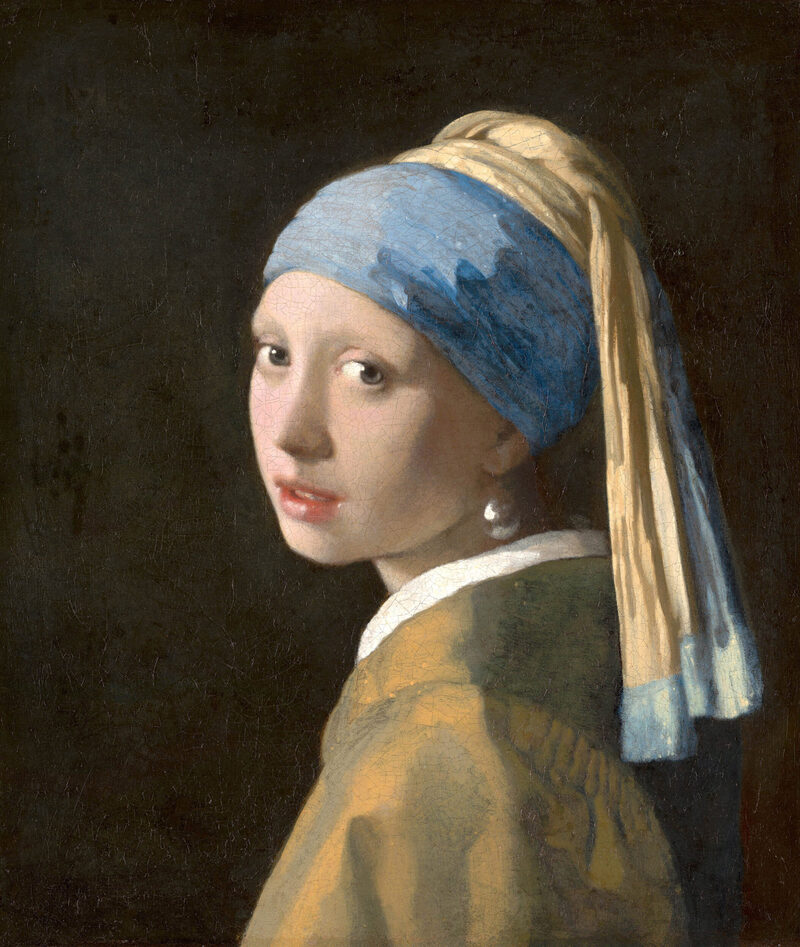
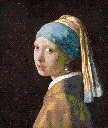
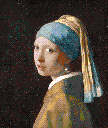
Same palette, same dither. Only the matching space differs.
To match a color to a limited palette, you need to ask which palette entry is closest, and in RGB the answer is often wrong in a way that’s obvious once you see it. Two colors that are near each other in RGB space can look nothing alike, and two that look nearly identical can be far apart.
Pixel Plumb uses OkLab, a perceptual color space where distance actually corresponds to how different two colors look.
Perceptual color distance isn’t an aesthetic preference – it’s the difference between a palette match that preserves the structure of an image and one that flattens it. The effect is strongest in skin tones, blues, and anywhere the source has a smooth gradient.
When the palette size is small (in my testing: less than 24 colors), RGB might actually be the better choice – which is why it’s an option in the palette mapping operations in Pixel Plumb.
Operations
A pipeline is a list of operations applied in order. Each one is small and self-contained, and the interesting results come from stacking them.
There are three rough groups: the ones that change the pixel grid, the ones that prepare the image’s tone and color, and the ones that map it to a palette. Most pipelines use at least one from each.
The pixel grid
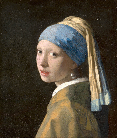
Nearest-neighbor. The image is cropped first so its dimensions divide evenly -- fractional pixels are the enemy.
downsample is the operation that makes pixel art pixel art. It collapses
each pixel_size block down to a single sample, and it crops before it
samples so nothing lands on a fractional boundary.
Three operations touch dimensions, and they do different jobs:
downsampleshrinks by an integer block size. This is the one that creates the pixel grid.resizescales to a target size, either by longest side or exact dimensions. Currently, it can only downscale – make a picture smaller, not larger.upscalemultiplies by an integer factor, and belongs at the end of a pipeline so the output is viewable without being too small for most use-cases.
All three are nearest-neighbor. Nothing here is allowed to invent a color that wasn’t in the source.
Preparing the image
A palette can only work with what it’s given. These operations exist because a source that hasn’t been prepared gives the matcher less to work with.
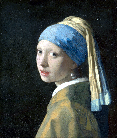
normalize stretches each channel so a chosen percentile fills the full
range. If your source is flat or hazy, the palette will faithfully reproduce
that flatness – normalizing first gives it something to bite into.
The low and high percentiles default to 0.01 and 0.99, which discards
outliers rather than letting one blown highlight set the ceiling.
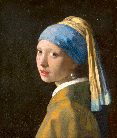
saturation scales chroma in OkLab, leaving lightness alone. That
separation is the point: in RGB, pushing saturation drags hues toward the
primaries and brightens as a side effect. Here the colors get more intense
and stay where they were.
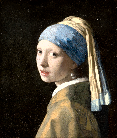
contrast pushes lightness away from mid-grey, also in OkLab, leaving
chroma unchanged. Worth reaching for before palette mapping when the source
is muddy.
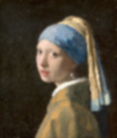
blur Gaussian, computed in linear light. Softening first makes adjacent similar pixels collapse together instead of scattering.
blur is the least obvious operation here, because on its own it just makes
the image worse. Its value is entirely in what happens next: a slightly
softened source quantizes into larger, cleaner regions instead of noisy
speckle.
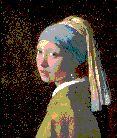
posterize reduces each channel to N evenly-spaced levels. It’s a
palette reduction that doesn’t need a palette – levels: 4 gives you 64
colors arranged on a regular grid.
It’s cruder than palette mapping, and sometimes that’s what you want.
Mapping to a palette
This is where the color science from the top of the page actually lands.
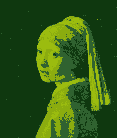
Every pixel snaps to its nearest palette entry. 'Nearest' is measured in OkLab by default.
palette_map takes a list of hex colors and maps each pixel to the closest
one. The mapping_space parameter chooses how “closest” is measured –
oklab by default, rgb if you want the naive version (which, as covered
above, is occasionally the better choice at very small palette sizes).
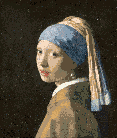
Octree quantization builds a palette from the image itself.
adaptive_palette_map does the same mapping, but derives the palette from
the image rather than taking one. Under the hood that’s an octree
quantizer – the color space gets subdivided into a tree, sparse branches get
merged until only N leaves remain, and each leaf becomes a palette entry.
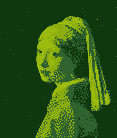
Error diffusion spreads each pixel's rounding error into its neighbors, so the eye blends it back into tones the palette doesn't contain.
Both mapping operations take an optional dither block. Without it, every
pixel independently snaps to its nearest entry and smooth gradients turn
into hard bands. With it, the error from each snap is pushed into
neighboring pixels, which produces texture where there would otherwise be
banding.
Dithering algorithms
The following dithering algorithms have been implemented:
- Floyd–Steinberg
- Atkinson
- Jarvis, Judice and Ninke
- Bayer 4x4
- Bayer 8x8
Atkinson produces the cleanest results on photographic images, but it comes at the cost of lightening the image a bit. It’s the classic Mac dithering.
Bayer is ordered rather than error-diffusing, so it produces a regular crosshatch instead of organic noise. Better for anything that needs to tile.
The error-diffusion algorithms take two extra parameters worth knowing
about. bleed controls how much of the error propagates – lowering it helps
when the palette simply can’t represent the source’s brightness range and
full diffusion would smear that failure across the image. clamp constrains
the error buffer to the palette’s range, which helps for the same reason.
Some orderings obviously make more sense than others. Use your best judgment – Pixel Plumb does not hold your hand.
Using it
Load an image in. Add operations from the sidebar. Reorder them by dragging. Hit run.
Stage previews: Every operation renders its own output, so you can see what each step did rather than guessing from the final result. Useful when a pipeline isn’t doing what you expected – the culprit is usually two steps earlier than you think.
No “Order of operations”: Operations are self-contained and can be composed in any order.
Pipelines are data: Your pipeline is shown as YAML with a copy-to-clipboard button. Paste it into a file and run it through the CLI to batch-process a directory.
operations:
- type: normalize
  low: 0.03
  high: 0.99
- type: saturation
  factor: 1.45
- type: downsample
  pixel_size: 8
- type: palette_map
  colors:
  - '#9bbc0f'
  - '#8bac0f'
  - '#306230'
  - '#0f380f'
  dither:
    algorithm: bayer8
    strength: 32.0
  preserve_alpha: true
  mapping_space: oklab
- type: upscale
  factor: 8
How it’s built
Implementation notes
Pixel Plumb has 3 components:
- The core library.
- The CLI.
- The web app, which you can find on this site.
The core is a plain Rust library with no WASM dependency. The web UI is Leptos compiled to WebAssembly, and the CLI uses the same core. Nothing in the core’s code knows or cares which frontend called it.
Further documentation can be found in the repo
Status
Version 0.1.1
It works, and I use it – every image on this site was made with it. But it’s not fast. I have several optimizations in mind, but I just wanted a live version up before tackling all that.